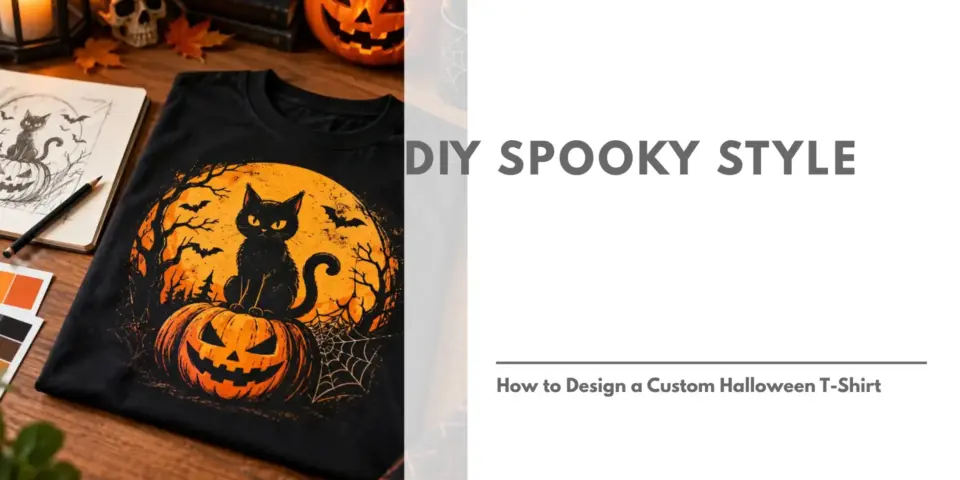
What makes a great Halloween shirt? It has absolutely nothing to do with your artistic ability, but rather what your design is able to convey. It needs a clever story or a catchy message. It has to be readable in the dark. It’s also good if your friends would do a double-take when they see it on you.
But how do you come up with something so amazing? We’ve created some tips and tricks that will help an aspiring designer create a truly remarkable shirt at any time of the year for any occasion. Let us guide you through our ideas, and maybe we’ll create something you’ll want to wear year-round.
Start With a Little Story
What is your design about? Every great shirt is the result of a creator thinking about what they want to communicate or what story they want to be told. Maybe it’s a ghost that gets cursed in a coffee shop or a skeleton that goes on a date that doesn’t happen or a black cat that decides a potion is a snack. One simple scene and you’re already a step ahead of the competition.
To find an idea, do a short exercise.
- Pick one character,
- add an action,
- and make a fun or spooky twist.
Write it down on a sticky note somewhere and bring it along to design.
Sketch Messy & Then Work Out the Details
Now grab your sketchbook, light a candle, and design your shirt! Don’t start with the colors or the shapes. Sketch a simple square that represents your shirt and draw a rough version of the image inside. It will most likely look nothing like what you had in mind, and that’s okay. This part is just about the placement where the text should be and how to fit the graphic without crowding the words. It also helps if you’re not good at drawing. The MyNameT AI Design Studio is perfect for turning your scribbles into a basic layout. So, take your initial sketch and begin the editing process until it looks just right.
Many seasoned shirt designers swear this is the tip that helps the most. It matters because you don’t want to spend time and effort on a design that looks bad when printed.
The important part is to do an eyeball test. After you’ve finished sketching, lean back and try to identify major elements of the design. Are any parts missing? If all the lines and colors blend, your design probably has too many busy details, and you should simplify it. If you can make out the primary shapes, you’re on the right track.
Create a Focal Point and a Hero
Every successful design has a hero. That is the main part of your image that will catch the eye first and represent your shirt’s theme and story. Maybe it’s a smiling jack-o-lantern, a pair of familiar cat eyes, or some bold words that jump out at you. It also means that everything else in the design should support it, not compete.
To create a hero, place an object or a character in the center of the shirt. Use contrasting colors and patterns to make it stand out. Then, examine the other elements to see if any of them vie for attention. If this is a problem, simplify the design or remove some elements.
Incorporate Easy-to-Read Text
Text is an important part of many designs, so it has to be readable. Choose a sans serif or script font, and make sure the text is at least 36 pt in size. Even better – use a combination of fonts, but no more than two of them. Play with the contrast to make the words readable at a distance. Make sure the words are not too cramped together. You can always use a magnifying glass to see if you can read the text in a smaller size.
Stick with short words and phrases. They tend to be more readable and recognizable than long sentences.
Aim for Higher Contrast and Limited Colors
Contrast is essential for making sure a design is readable and striking at first glance. Pair a dark graphic with a light-colored background to create a similar effect. Stick with a more limited color palette since using too many different colors can be distracting. A bold color combination will make your design unique and recognizable at a distance.
Another option is to use complementary colors. Put a black figure against a white background. This is a great contrast and has been popular among designers for longer than anyone can remember. Or, use warm and muted colors such as orange, black, and bone. They are ideal for Halloween and go well with most other colors in the palette.
Select a Good Spot on the Shirt
Traditionally, it is believed that the most common place for a shirt graphic is near the center of the chest. And while that might be the safest option, you can place the design anywhere on the shirt to make it stand out. Consider these options:
- The left chest area – A small icon or graphic that doesn’t take up much space.
- The back – A large graphic or a meaningful message that someone sees when they look at your shirt from behind.
- Sleeves – A small graphic on the biceps or a larger one on the lower part of the sleeve that flows down as you move your arm.
- Front and back – A graphic on a shirt front that combines with a larger image at the back.
Use the mock-up tool to check how the design looks in these places.
Finish it Off With Some Textured Details
While textured elements look striking, many of them are unnecessary to a design. Use them as accent details to add dimension and depth to a predominantly flat graphic. Think about cracks, crevices, scratches, and any other details that could add to the effect. You wouldn’t want to add too many, though, as it may turn your graphic into something that belongs in a museum.
A Few Final Tips Before Making
As mentioned above, a great Halloween t-shirt isn’t necessarily about art skills. It’s about using your creativity to communicate your idea in the simplest yet effective way. So before you finalize, ask yourself these questions.
- Did I misspell anything?
- Is it easy to make out where the focal point of the design is?
- Can the text be easily read?
- Does the design make sense on the color of the shirt?
- Is the image clear and readable?
- Will the image look good in a small size as well?
If you answer yes to all these questions, then that’s it! That design has everything it needs to impress your friends at any costume party or haunted house!
Final Notes
When creating a great Halloween shirt, a designer must understand what a great shirt needs. It needs to have a clear story displayed in a simple and easy-to-read manner. With our tips and a bit of practice, you can create something that would be truly unique in its kind. So grab your sketchbook and start designing tonight. If you’re interested in making the image real, you can start creating a custom Halloween T-shirt at MyNameT.